How to Wire a Dedicated Ethernet Backhaul for Lag-Free UK IPTV
- Why Wi-Fi Fails Live UK TV Streams
- Step 1: Map Your Cable Route and Gather Gear
- Step 2: Install the Physical Cable
- Step 3: Connect to Your Router and Configure Network Settings
- Step 4: Test Packet Loss and Throughput
- Using Powerline Adapters as an Alternative Backhaul
- Alternative Setup: Mesh Node Wired Backhaul
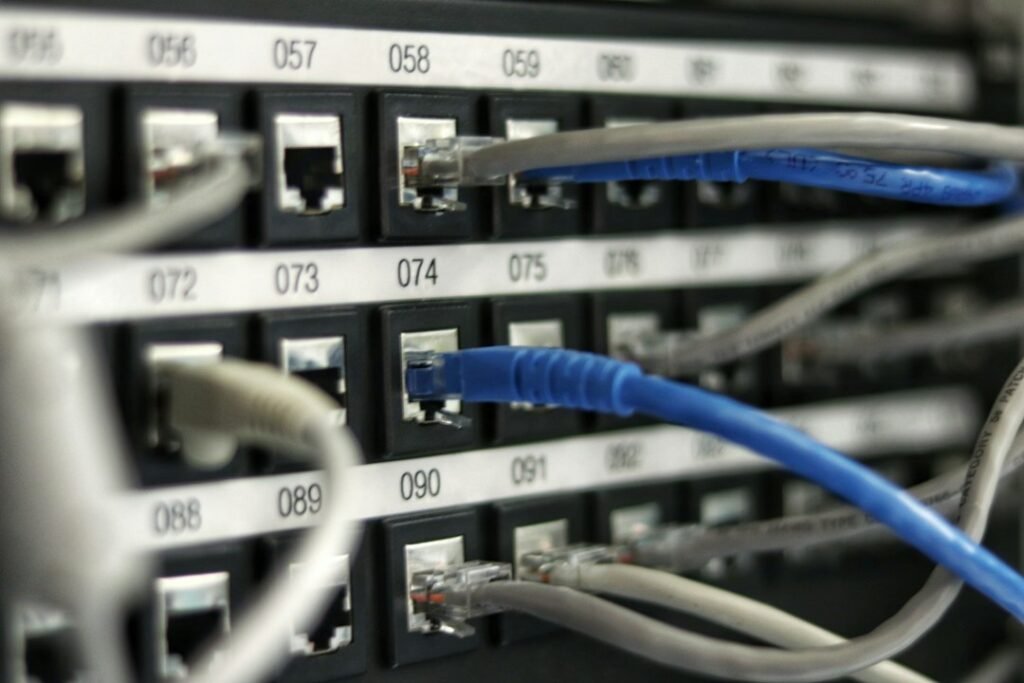
Wi-Fi signals in British homes face a tough environment. Thick Victorian brick, foil-insulated plasterboard, and overcrowded 2.4GHz bands mean wireless signals drop packets constantly. When you stream live 4K television, those dropped packets turn into frozen video and audio desync. Setting up a dedicated Ethernet backhaul for UK IPTV streaming removes wireless interference entirely by creating a solid physical link between your main router and your streaming box or mesh access point.
Why Wi-Fi Fails Live UK TV Streams
Recorded video services like Netflix buffer several minutes of footage ahead in your device’s memory. Live TV cannot do that. IPTV streams broadcast with a tiny buffer—often under three seconds—to keep live sports as close to real-time as possible. If your Wi-Fi drops connection for even half a second while switching channels or during peak internet usage hours, the stream stalls.
A wired backhaul routes data directly through copper cables. This guarantees a stable, low-latency pathway. It stops local network congestion from affecting your picture quality, even when other household members stream video, download large game updates, or join video calls at the same time.
Step 1: Map Your Cable Route and Gather Gear
Before buying cables, figure out the shortest path from your home router to your TV setup. Most UK homes benefit from Cat6 Ethernet cable. It supports speeds up to 10Gbps over short distances and handles gigabit traffic with ease. Avoid copper-clad aluminium (CCA) cables. Stick to solid pure copper (OFC) cables for better conductivity and longevity, especially if you plan to run cables near power lines or through wall cavities.
Here is what you need for a neat installation:
- Cat6 Ethernet cable (measured to length, plus two metres spare)
- RJ45 connectors and a crimping tool (if running raw cable through walls)
- Ethernet wall plates or brush plates for a tidy finish
- Cable clips or adhesive trunking to secure the run along skirting boards
- An unmanaged Gigabit network switch if you have multiple devices at your media centre
Step 2: Install the Physical Cable
If you live in a rented flat or want to avoid drilling through brickwork, run white flat Cat6 cable along the top of your skirting boards using self-adhesive clips. Flat cable fits neatly under carpet edges and bends around door frames without popping out.
For homeowners wanting a clean setup, running cable through floorboards or external walls works best. When drilling through external brick walls, always drill from the inside out at a slight downward angle. This prevents rainwater from trickling along the cable into your living room. Pull the cable through, seal the hole with silicone sealant, and fit an exterior drip loop.
When you need to hook up multiple entertainment devices like a smart TV, a set-top box, and a games console, simply run one main backhaul line from your router to a small 5-port Gigabit switch near your television. Connect all your devices into the switch using short patch cables. If you need details on choosing hardware with the right port speeds, check out our guide on critical hardware specs to check before buying an IPTV box in the UK.
Step 3: Connect to Your Router and Configure Network Settings
Plug one end of your main Ethernet cable into a LAN port on your primary broadband router (such as a BT Smart Hub, Virgin Media Hub, or Sky Max Hub). Plug the other end directly into your IPTV box or the network switch at your TV setup.
Once connected, turn off the Wi-Fi connection inside your streaming device’s settings menu. Leaving both Wi-Fi and Ethernet active can confuse some operating systems, leading to routing loops or temporary connection drops. You can read more about balancing device connections in our guide to optimising home network settings for IPTV in the UK.
Next, log into your router’s web admin page (usually accessed by typing 192.168.1.1 or 192.168.0.1 into a web browser). Set up a DHCP reservation for your streaming box. This gives your device a permanent internal IP address, which prevents connection hiccups when your router reboots or refreshes local IP assignments.
Step 4: Test Packet Loss and Throughput
Do not just check if a stream loads—test your line stability under load. Download a network testing app on your TV device or run a ping test from a laptop connected to the same switch.
Look for two specific figures:
- Ping latency: Should remain consistently under 10ms to your router.
- Packet loss: Must stay at 0.0%. Even a 1% packet loss rate causes noticeable stuttering on live streams.
If you notice packet drops on a fresh cable, check your RJ45 crimps. A single loose wire inside the connector can force the port to drop from 1000Mbps down to 10Mbps, or cause intermittent dropping.
Using Powerline Adapters as an Alternative Backhaul
If drilling walls or running long cables along skirting boards is completely impossible, AV2-standard Powerline adapters offer a backup option. They transmit data through your home’s existing electrical wiring. Plug one adapter near your router and another near your TV.
However, mains wiring in older UK houses can introduce electrical noise from appliances like fridges or washing machines. For the crispest 4K viewing without frame drops, a real copper Ethernet backhaul remains far superior to Powerline or mesh Wi-Fi.
Alternative Setup: Mesh Node Wired Backhaul
If you prefer using a mesh Wi-Fi system (like Amazon eero, TP-Link Deco, or Netgear Orbi) to cover your home, do not rely on wireless transmission between the mesh units. Connect the secondary mesh node directly to your primary router using your newly installed Ethernet cable.
This is called an Ethernet-backhauled mesh network. It frees up the wireless radios on your secondary node entirely for mobile phones and laptops, while providing a rock-solid wired feed to your TV connected via network cable to that secondary node.
Once your physical cable is clipped into place and your network options are updated, your streaming device gets uninterrupted bandwidth straight from your modem. If you want a reliable channel line-up to pair with your upgraded home network, take a look at our flexible installation guide to get started with a dedicated feed tailored for UK households.
Related reading
- 6 Crucial Network Terms Every UK IPTV Viewer Should Know
- Direct Unicast vs Multicast IPTV Delivery: UK Home Broadband Tested